Tesla Model S: Cup Holder (Remove and Replace)
Tesla Model S (2012-2026) Service Manual / Interior trim / Cup Holder (Remove and Replace)
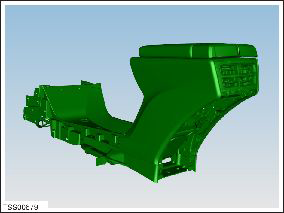
Removal
- Remove center console assembly (refer to procedure)
- Position center console on suitable clean bench to prevent
damage.
Caution: Take care not to damage component(s).
- Remove LH rear vent (refer to procedure)
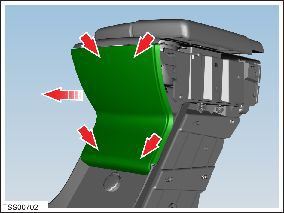
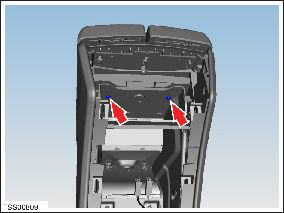
- Remove screws (x2) securing cup holder front trim to chassis
(torque 2 Nm).
- Release clips (x2) and remove cup holder front trim.
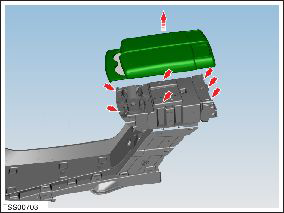
- Remove cup holder mat to access screws.
- Carefully lift vertically to release clips (x7) securing arm
rest and cup holder trim.
Caution: Take care not to damage component(s).
Caution: Replace any broken clips.
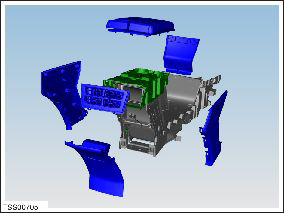
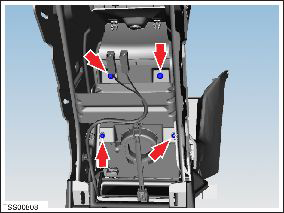
- Remove screws (x10) securing cup holder assembly to chassis from the top (torque 2 Nm).
- Remove clips for air ducting to allow more movement for access.
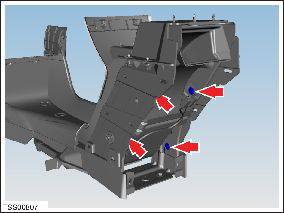
- Remove screws (x4) securing air ducting framework to center
console chassis (torque 2 Nm).
- Remove screws (x2) securing cup holder to framework (torque 2
Nm).
- Remove cup holder assembly.

Installation procedure is the reverse of removal.
READ NEXT:
 Trim - Center Console - Rear (Remove and Replace)
Removal
Carefully release clips (x8) securing rear end console closing
trim to chassis.
Caution: Take care not to damage component(s).
Caution: Replace any broke
Assembly - Panel - Wrapped - LH (Remove and Replace)
Removal
Release the clips (x10) that secure the wrapped panel trim.
Note: Components have been removed in this graphic
to aid clarity.
Vent - Center Console (Remove and Replace)
Removal
Remove center console rear closing panel (refer to procedure)
Move front center arm rests forward.
Using a suitable tool depress clips (x4) securing rear vent to
cente
SEE MORE:
Vacuum Brake Booster Assembly (Remove and Replace)
Caution: This procedure
describes how to remove and replace the vacuum brake booster
only. If the vehicle is equipped with an electromechanical brake
booster assembly, refer to procedure 33031402
(refer to procedure).
Removal
Remove the master cylinder and r
HOLD State
When following a vehicle, Traffic-Aware Cruise Control
remains active at low speeds, even when Model S comes
to a full stop. When the vehicle is moving again, Traffic-
Aware Cruise Control resumes operating at the set
speed. However, under the following circumstances,
Traffic-Aware Cruise Contro
© 2019-2026 Copyright www.tesms.org
