Tesla Model S: Face Level Vent - Front Passenger's - Outer (Remove and Replace)
Tesla Model S (2012-2026) Service Manual / Instrument Panels and Pedals / Face Level Vent - Front Passenger's - Outer (Remove and Replace)
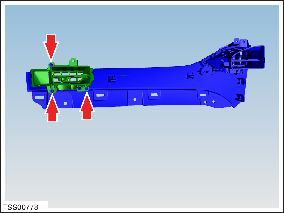
Removal
- Remove RH instrument panel finisher assembly (refer to procedure)
- Remove screws (x3) securing passenger outer face vent to trim (torque 1 Nm).
- Remove vent from trim.
Installation procedure is the reverse of removal.
READ NEXT:
 Face Level Vent - Front Passenger's - Inner (Remove and Replace)
Removal
Remove RH instrument panel finisher assembly (refer to
procedure)
Remove screws (x3) securing passenger inner face vent to trim
(torque 1 Nm).
Remove vent from trim.
Assembly - Bin - Storage Center Compartment (Remove and Replace)
Removal
Remove center console carpet.
Caution: Apply contact adhesive to mating faces if
bond has been broken.
Release clips (x4) securing closing p
Assembly - Instrument Panel Lower - RH (Remove and Replace)
Removal
Remove the RH instrument panel side cover assembly (refer to
procedure).
Note: LH panel is illustrated; RH removal is
identical.
Using a
SEE MORE:
Camera - Rear Facing (Remove and Replace)
Removal
Remove the tailgate lower finisher (refer to procedure).
Pull back the watershield for access to the rear camera
electrical connector.
Disconnect the rear camera electrical connector.
Remove the liftgate
Charging Equipment
Charging equipment designed specifically to charge
your Model S is available from Tesla. A Tesla Wall
Connector, which installs in your parking space, is the
fastest way to charge Model S for daily use.
Model S can also be charged using a Mobile Connector
and the appropriate adapter(s) that all
© 2019-2026 Copyright www.tesms.org
