Tesla Model S: Seal - Rear Door - LH (Remove and Replace)
Tesla Model S (2012-2026) Service Manual / Closures / Seal - Rear Door - LH (Remove and Replace)
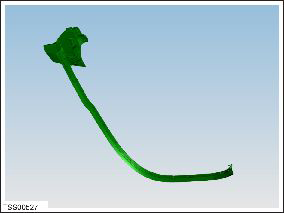
Removal
- Remove door trim (refer to procedure)
- Release clips (x2) securing flap seal end to door. Note: Components have been removed in this graphic to aid clarity. Caution: Take care not to damage component(s).
- Carefully release remaining clips (x12).

- Remove door seal.
Installation procedure is the reverse of removal.
Note: Clean the affected areas before installation.
READ NEXT:
 Seal - Hood (Remove and Replace)
Removal
Open the luggage compartment.
Release the seal from luggage compartment surround.
Note: Components have been removed in this
graphic to aid clarity
Seal - Liftgate (Remove and Replace)
Removal
Open vehicle tailgate.
Release tailgate seal from body and carefully remove.
Note: Components have been removed in this graphic
to aid clarity.
Seal - Door Front Outer Belt - LH (Remove and Replace)
Removal
Lower window glass.
Using a suitable tool release outer belt seal, starting at the
mirror and working backwards.
Caution: Protect paintwork from possible damage du
SEE MORE:
Body Glass - Rear Quarter - LH (Remove and Replace)
Warning: To avoid personal injury, wear cut-resistant
gloves when performing this operation.
Note: Use Dow Betaseal Express or an equivalent fast-curing
glass adhesive to perform this procedure.
Removal
Remove the LH body side brightwork (refer to procedure).
Remove t
HV Harness - Front Drive Unit to HVJB
Warning: Only technicians who have been trained in High
Voltage Awareness are permitted to perform this procedure. Proper
personal protective equipment (PPE) and insulating HV gloves with a
minimum rating of class 00 (500V) must be worn any time a high
voltage cable is handled. Refer
© 2019-2026 Copyright www.tesms.org
