Tesla Model S: Vehicle Labeling
It is important to understand your vehicle's original tire sizes and pressures, and the GVWR (Gross Vehicle Weight Rating) and GAWR (Gross Axle Weight Rating). This information can be found on two labels attached to Model S.
- Tire and Loading Information Label
- Vehicle Certification Label
WARNING: Overloading Model S has an adverse effect on braking and handling, which can compromise your safety or cause damage.
CAUTION: Never store large amounts of liquid in Model S. A significant spill can cause electrical components to malfunction.
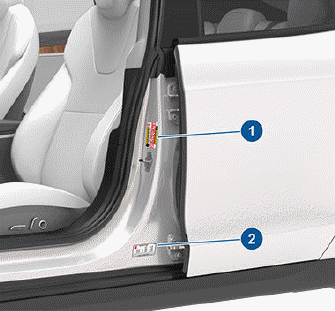
Tire and Loading Information Label
The Tire and Loading Information label provides:
- The maximum number of occupant seating positions.
- The maximum vehicle capacity weight.
- The size of the original tires.
- The cold inflation pressures for the original front and rear tires. These pressures are recommended to optimize ride and handling characteristics.
United States/Canada:
.png)
Mexico:
.png)
Never change this label, even if you use different tires in the future.
NOTE: If Model S is loaded to its full capacity, double check all tires to ensure they are inflated to their recommended pressure levels.
READ NEXT:
 Vehicle Certification Label
The Vehicle Certification label provides:
GVWR - Gross Vehicle Weight Rating. The maximum
allowable total mass of Model S. This is calculated as
the weight of Model S equipped with the heaviest
Calculating Load Limits
1. Locate the statement "The combined weight of
occupants and cargo should never exceed XXX lbs or
XXX kg" on the "Tire and Loading Information" label.
2. Determine the combined weight of all occup
Dimensions
Exterior Dimensions
CAUTION: Depending on configuration (such as suspension height or
wheel selection), your vehicle's liftgate
can open up to approximately 7.5 feet (2.3 meters) high. See Adj
SEE MORE:
Door Glass - LH - Rear - Adjust
Removal
Remove door trim pad (refer to procedure)
Partially lower glass for access to glass clamp.
Remove water proof tape for access to adjustment clamp.
Loosen but do not remove clamp nut securing door glass to
regulator (torque 7.5 Nm). This allows glass to move fore and
Fusebox - Battery (RHD) (Remove and Replace)
Warning: If the 12V power supply is disconnected, do
not attempt to open any doors with door glass in closed position.
Failure to follow this instruction could result in door glass
shatter.
Note: Before disconnecting the 12V power supply,
ensure that the driver's door window
