Tesla Model S: Cable - Latch - Hood (RWD) (Remove and Replace)
Tesla Model S (2012-2026) Service Manual / Closures / Cable - Latch - Hood (RWD) (Remove and Replace)
Removal
- Remove the hood latch cover (refer to procedure).
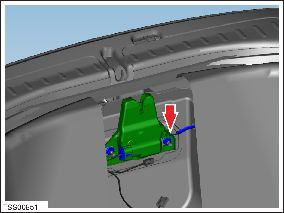
- Release the hood release cable hook from the latch assembly.
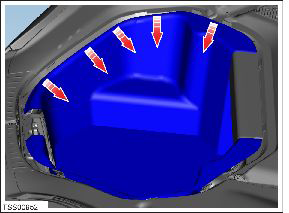
- Peel back the edge of the front trunk carpet for access.
- Depress the clips and disconnect the hood release cable from the slam panel bracket.
- Release the clips (x2) that secure the cable to the body.
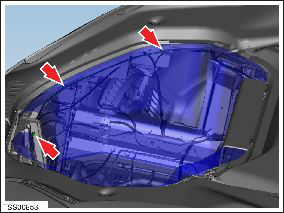
- Remove and discard the clips from the cable.
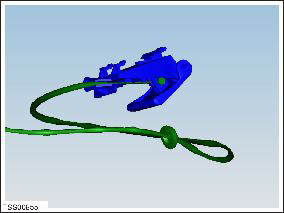
- Tie a suitable tether to disconnected the end of the hood release cable and tape it for security.
- Open the passenger door.
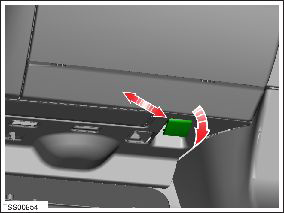
- Disconnect the lever from the dash.
- With assistance, gently pull the cable through the bulkhead
grommet into the passenger footwell.
Caution: Take care not to damage component(s).
- Ensure that the tether remains in the front trunk.
- Disconnect the cable from the lever.
- Installation procedure is the reverse of removal, except for the following:
- Remove the tether from the hood release cable and connect it to the replacement cable.
READ NEXT:
 Cable - Latch - Hood - LH (Dual Motor) (Remove and Replace)
Removal
Remove the underhood storage unit (refer to procedure).
Release the rear cable from the latch assembly.
Note: If performing this procedure on the
RH side, rele
Actuator - Latch - Hood - LH (Dual Motor) (Remove and Replace)
Removal
Remove the ankle catcher (refer to procedure).
Remove the LH and RH condenser ducts (refer to procedure).
Remove the plastic rivets (x3) that secure the center louver
asse
Gas Strut - Hood - LH (Remove and Replace)
Removal
Open hood.
Support hood in open position.
Release clip securing gas strut to body.
Disconnect gas strut fro
SEE MORE:
Module - Sunroof Controller (Remove and Replace)
Removal
Remove the body control module (BCM) (refer to procedure)
Remove the 4 bolts and 1 nut that secure the sunroof controller
mounting bracket to the body (torque 8 Nm).
Carefully turn the mounting bracket over.
HVAC Assembly (Remove and Replace)
Removal
Remove cross car beam (refer to procedure).
Recover refrigerant from AC system (refer to procedure).
Disconnect AC connection to HVAC, discard 'O' rings (torque 22
Nm).
Remove screws (x2) securing bulkhe
© 2019-2026 Copyright www.tesms.org
