Tesla Model S: Glove Box - Damper (Remove and Replace)
Tesla Model S (2012-2026) Service Manual / Instrument Panels and Pedals / Glove Box - Damper (Remove and Replace)
Removal
- Remove glove box assembly (refer to procedure)
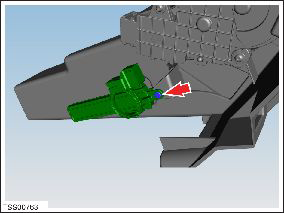
- Depress clip and remove clevis pin securing damper module to
glove box assembly.
- Rotate module counter-clockwise and release from glove box.
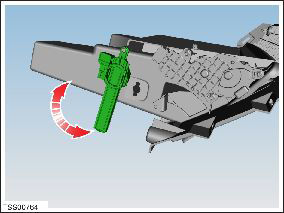
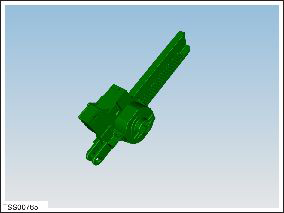
- Remove damper module.
Installation procedure is the reverse of removal.
READ NEXT:
 IP Carrier (Remove and Replace)
Warning: If the 12V power supply is disconnected, do
not attempt to open any doors with door glass in closed position.
Failure to follow this instruction could result in door glass
shat
Cross Car Beam (Remove and Replace)
Removal
Remove the IP carrier (refer to procedure).
Remove the center console (refer to procedure).
Remove the nuts (x2) that secure the driver knee airbag. Retain
the washers (x2
Assembly - Frame - Instrument Cluster (Remove and Replace)
Removal
Remove driver side lower dash trim (refer to procedure)
Remove the instrument panel side covers (refer to procedure)
Remove the A-pillar middle trim panels (refer to proce
SEE MORE:
Tips to Maximize Range
You can maximize your driving range using the same
driving habits you use to conserve fuel in a gasoline-
powered vehicle. To achieve maximum range:
Slow down your driving and avoid frequent and rapid
acceleration. Consider using Chill Mode (touch
Controls > Pedals & Steering > Acce
Charging slowed - Some AC phases not powered
Check power source and charging equipment
Charging speed has been reduced due to a condition that affects your
vehicle's ability to charge with AC power. DC
fast charging / Supercharging should still function as expected.
Your vehicle's onboard charger has detected that one or more power converte
© 2019-2026 Copyright www.tesms.org
