Tesla Model S: LED - Door - Exterior Handle - Front - LH (Remove and Replace)
Tesla Model S (2012-2026) Service Manual / Closures / LED - Door - Exterior Handle - Front - LH (Remove and Replace)
Removal
- Remove backplate grip (refer to procedure)
- Disconnect LED wiring and remove from door grip.
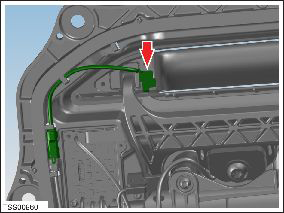
- Install LED and connect wiring.
- Install backplate grip.
LED - Door - Exterior Handle - Rear - LH (Remove and Replace)
Removal- Remove backplate grip (refer to procedure)
- Disconnect LED wiring and remove from door grip.
- Install LED and connect wiring.
- Install backplate grip.
READ NEXT:
 Motor - Door - Exterior Handle - Front - LH (Remove and Replace)
Removal
Remove door handle for access (refer to procedure)
Position handle assembly on a soft working surface.
Remove door handle rear seal.
Release motor harness connector.
R
Motor - Door - Exterior Handle - Rear - LH (Remove and Replace)
Removal
Remove door handle for access (refer to procedure)
Position handle assembly on a soft working surface.
Remove door handle rear seal.
Remove cable ties securing door pressu
PCB - Door - Exterior Handle - Front - LH (Remove and Replace)
Removal
Remove fork and control link for acces (refer to procedure)
Remove screws (x3) securing PCB to housing (torque 1.5 Nm).
SEE MORE:
Charging equipment not recognized
Try again or try different equipment
The charge port is unable to detect whether a charge cable is inserted or the
type of charge cable connected.
If this alert appears while a charge cable is connected, it should be determined
whether the issue is caused by the
charging equipment or the vehicle
Charging equipment communication lost
Check power source and charging equipment
Charging stopped because communication between the vehicle and the external
charging equipment was
interrupted.
Confirm whether the external charging equipment is powered by looking for any
status lights, displays, or other
indicators on the equipment.
© 2019-2026 Copyright www.tesms.org
