Tesla Model S: Mounting - Air Conditioning Compressor (Remove and Replace)
Tesla Model S (2012-2026) Service Manual / Thermal Management / Mounting - Air Conditioning Compressor (Remove and Replace)
Removal
- Remove air conditioning compressor (refer to procedure)
- Unscrew compressor isolators from mounting bracket.
Note: Inspect mounting rubber and replace as necessary.
Note: It is recommended that if one mounting requires replacement, that all four should be replaced at the same time.
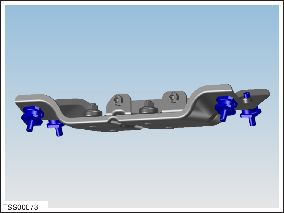
- Remove nuts (x4) securing rubber bushings to bracket (torque 10 Nm).
- Separate upper bracket from lower bracket and remove rubber
bushings.

Installation process is the reverse of removal
READ NEXT:
 Pipe - High Pressure - Sub-Cool Condenser to Chiller (Remove and Replace)
Removal
Recover refrigerant from the vehicle (refer to procedure)
Remove front skid plate (refer to procedure)
Remove nut (x1) securing pipe to sub-cool condenser (torque 8
Nm).
Pipe - High Pressure - Charge Port (Remove and Replace)
Removal
Recover refrigerant from the vehicle (refer to procedure)
Remove underhood storage unit (refer to procedure)
Remove nut securing pipe retaining plate to evaporator TXV
(to
Pipe - High Pressure - Compressor to Condenser (Remove and Replace)
Removal
Recover refrigerant from the vehicle (refer to procedure).
Remove the underhood storage unit (refer to procedure).
Remove the bolt that secures the high pressure pipe to the
SEE MORE:
Liftgate Glass (Replace)
Installation
Use the adhesive scraper to remove the excess urethane from the
body.
Temporarily reconnect the CHMSL to the harness in the center of
the liftgate and have an assistant depress the brake pedal. Ensure
that the CHMSL lights up properly. If any of the LEDs have be
Standby Mode
To keep Model S ready to Summon and reduce the time
it takes to warm up, turn on Standby Mode. Touch
Controls > Autopilot > Standby Mode. When Standby
Mode is turned on, you can conserve Battery energy by
disabling Standby Mode at these locations:
Exclude Home - Disables Standby Mode at
© 2019-2026 Copyright www.tesms.org
