Tesla Model S: Knuckle - Suspension - Front - LH (Remove and Replace)
Warning: If the vehicle has air suspension, activate "Jack" mode on the touchscreen before raising and supporting the vehicle.
Removal
- Remove the front hub (refer to procedure).
- Remove the screws (x2 or x3) that secure the dust shield to the
knuckle (torque 8 Nm).
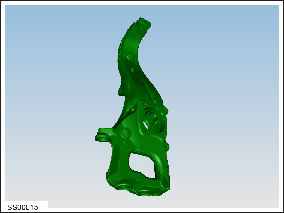
Note: Components have been removed in this graphic to aid clarity.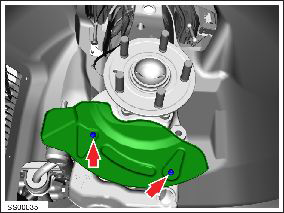
- Remove the dust shield.
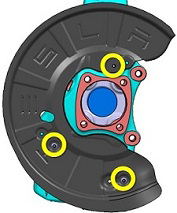
- Remove the nuts (x2) that secure the lower control arm ball joints to the knuckle (torque 195 Nm).
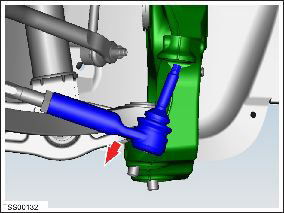
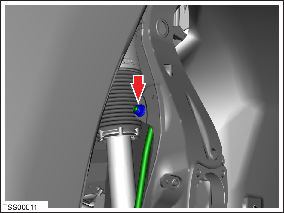
- Hold the tie rod ball joint pin with an allen wrench while
removing the nut that secures the tie rod end to the knuckle (torque
103 Nm).
Caution: To prevent ball joint damage, always hold the ball joint pin with a wrench while loosening or tightening the lock nut.
.png)
- Release the tie rod end from the knuckle.
- Remove the screws (x2) that secure the wheel speed sensor harness bracket and the sensor retaining screw (torque 8 Nm).
- Release the wheel speed sensor harness clip from the knuckle.
- Release the wheel speed sensor from the knuckle and position
aside.
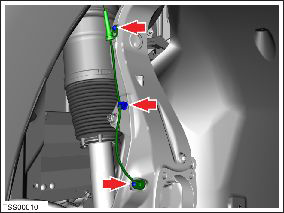
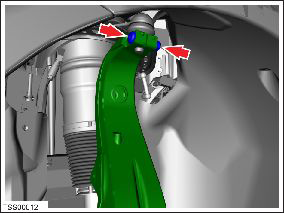
- Remove the nut that secures the sway bar link to the knuckle and
disconnect the link (torque 70 Nm).
Caution: To prevent ball joint damage, always hold the ball joint pin with a wrench while loosening or tightening the lock nut.
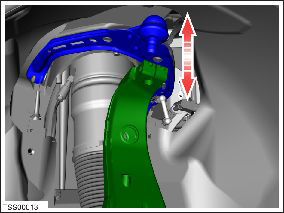
- Remove the bolt and nut that secure the knuckle to the upper
control arm ball joint (torque 60 Nm).
- Disconnect the knuckle from the upper control arm.
- Release the lower ball joints from the knuckle.
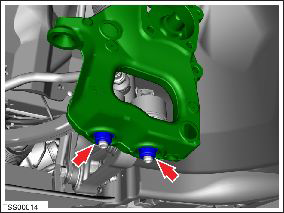
- Remove the knuckle.
Installation procedure is the reverse of removal, except for the following:
Caution: Replace all nylon-insert locknuts.
Perform a four wheel alignment check (refer to procedure).
READ NEXT:
 Hub - Front - LH (Remove and Replace)
Special tool(s) required for this procedure:
Supplier
Part Number
Description
Tesla
1062500-00-A
Magnetic F
Link - Sway Bar - Front - LH (Remove and Replace)
Warning: If the vehicle has air suspension,
activate "Jack" mode on the touchscreen before raising and
supporting the vehicle.
Removal
Loosen the front LH lug nuts (torque 175 Nm
Sway Bar - Front (RWD) (Remove and Replace)
Warning: If the vehicle has air suspension, activate "Jack"
mode on the touchscreen before raising and supporting the vehicle.
Removal
Remove the underhood storage unit (refer to
SEE MORE:
Suspension - Rear - Check Torque
Warning: If the vehicle has air suspension, activate "Jack"
mode on the touchscreen before raising and supporting the vehicle.
Check the tightening torque of the following fasteners:
Caution: Only fully tighten suspension nuts and bolts when the vehicle
is on a 4-post lift and the suspension
Press Sensor - Door - Exterior Handle - Front - LH (Remove and Replace)
Removal
Remove door handle for access (refer to procedure)
Position handle assembly on a soft working surface.
Remove door handle rear seal.
Remove cable ties securing door pressure sensor and motor
wiring.
Release motor harness connector.
Remove press sensor screw.
