Tesla Model S: Speaker - Rear Door All, Front Door Base Audio (Remove and Replace)
Tesla Model S (2012-2026) Service Manual / Infotainment / Speaker - Rear Door All, Front Door Base Audio (Remove and Replace)
Removal
- Remove rear door trim panel (refer to procedure)
- Disconnect speaker harness connector. Note: Components have been removed in this graphic to aid clarity.
- Remove screws (x4) securing speaker to rear door (torque 1.8
Nm).
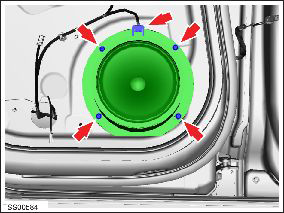
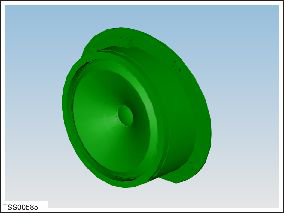
- Remove rear door speaker.
- Installation procedure is the reverse of removal except for the following
- Inspect and replace speaker screw grommets.
READ NEXT:
 Subwoofer Assembly (Remove and Replace)
Removal
Remove RH side trunk trim (refer to procedure)
Remove screws (x3) securing subwoofer enclosure to body (torque
7 Nm).
Speaker - Rear - LH/RH (Remove and Replace)
Removal
Open tailgate to suitable working height.
Carefully release speaker cover clips (x9) from tailgate.
Caution: Take care not to damage component(s).
Premium Boost Amplifier (Remove and Replace)
Removal
Release latch, disconnect amplifier harness connector and
position aside.
Caution: Take care not to damage component(s).
SEE MORE:
Overview
The Media Player displays on the touchscreen and is
used to play various types of media. You can drag Media
Player upward to expand it (allowing you to browse),
and downward to minimize it so that just the Miniplayer
displays. The convenient Miniplayer, which occupies the
least amount of space
Battery Chiller and TXV Assembly (Remove and Replace)
Warning: If the 12V power supply is disconnected, do
not attempt to open any doors with door glass in closed position.
Failure to follow this instruction could result in door glass
shatter.
Note: Before disconnecting the 12V power supply,
ensure that the driver's door window
© 2019-2026 Copyright www.tesms.org
